
Last updated November 15, 2026
 Wrought iron
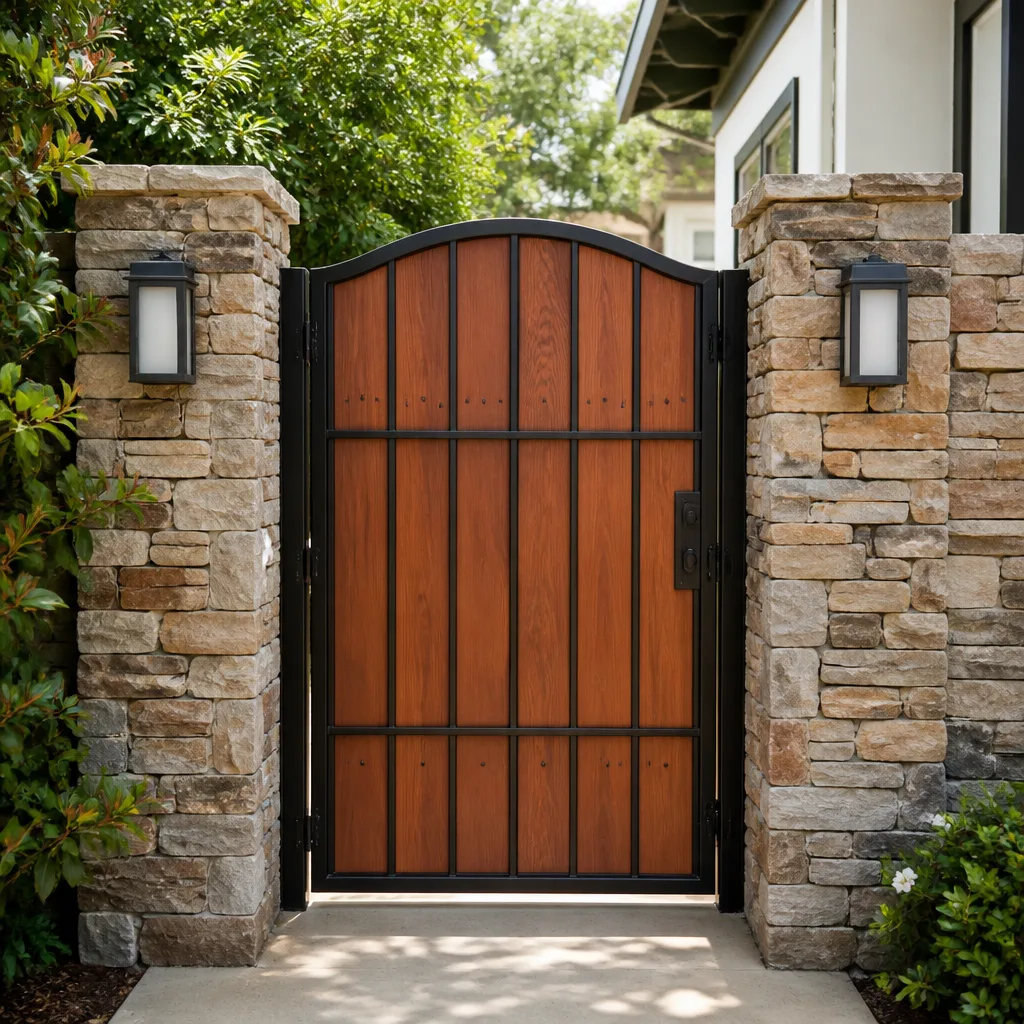 Wood & steel frame
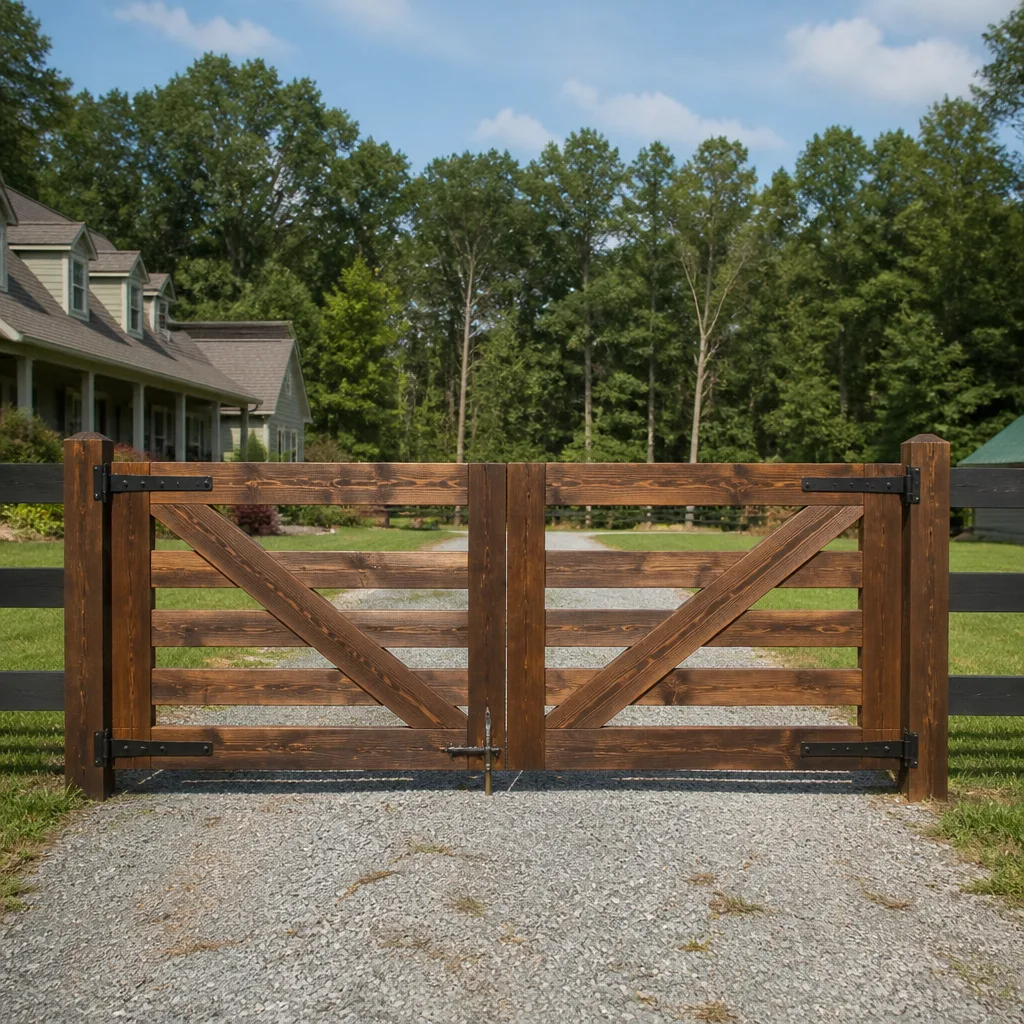 Farm & ranch
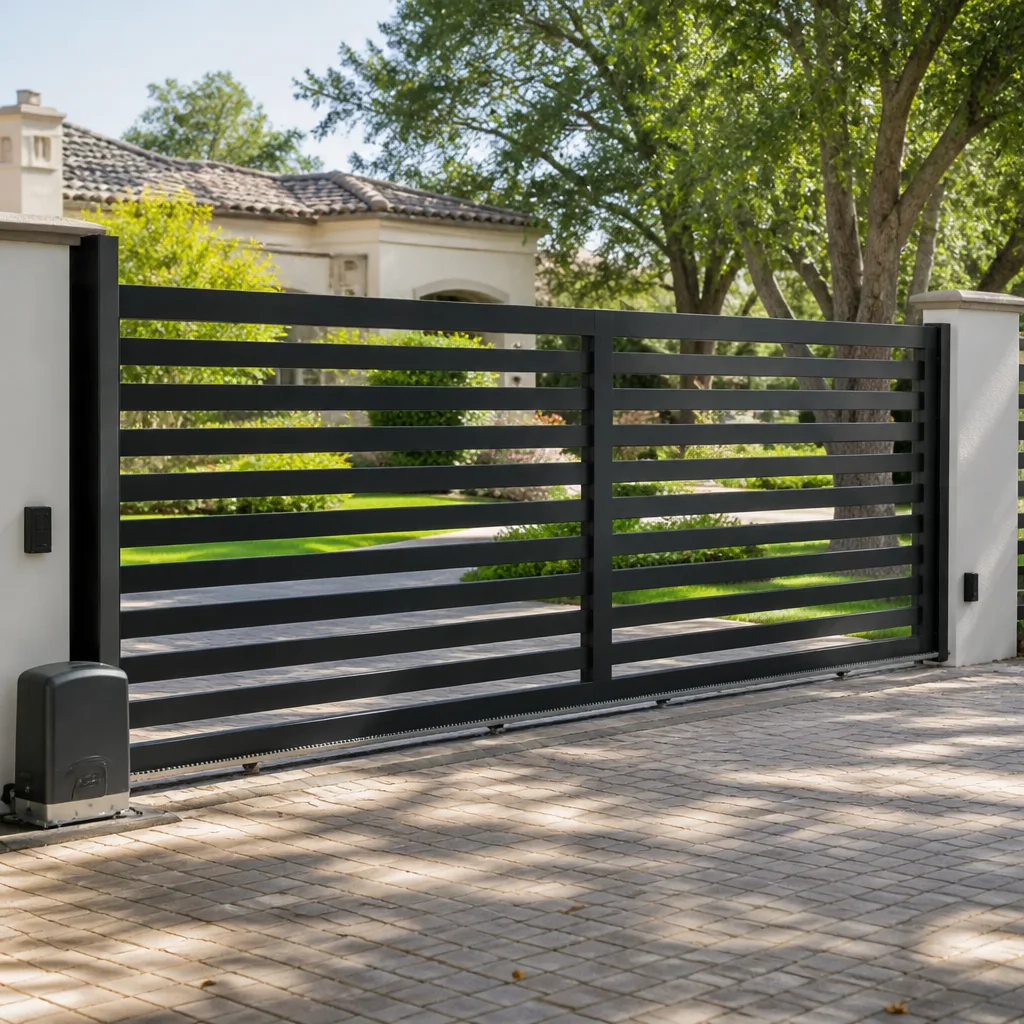 Sliding driveway gates
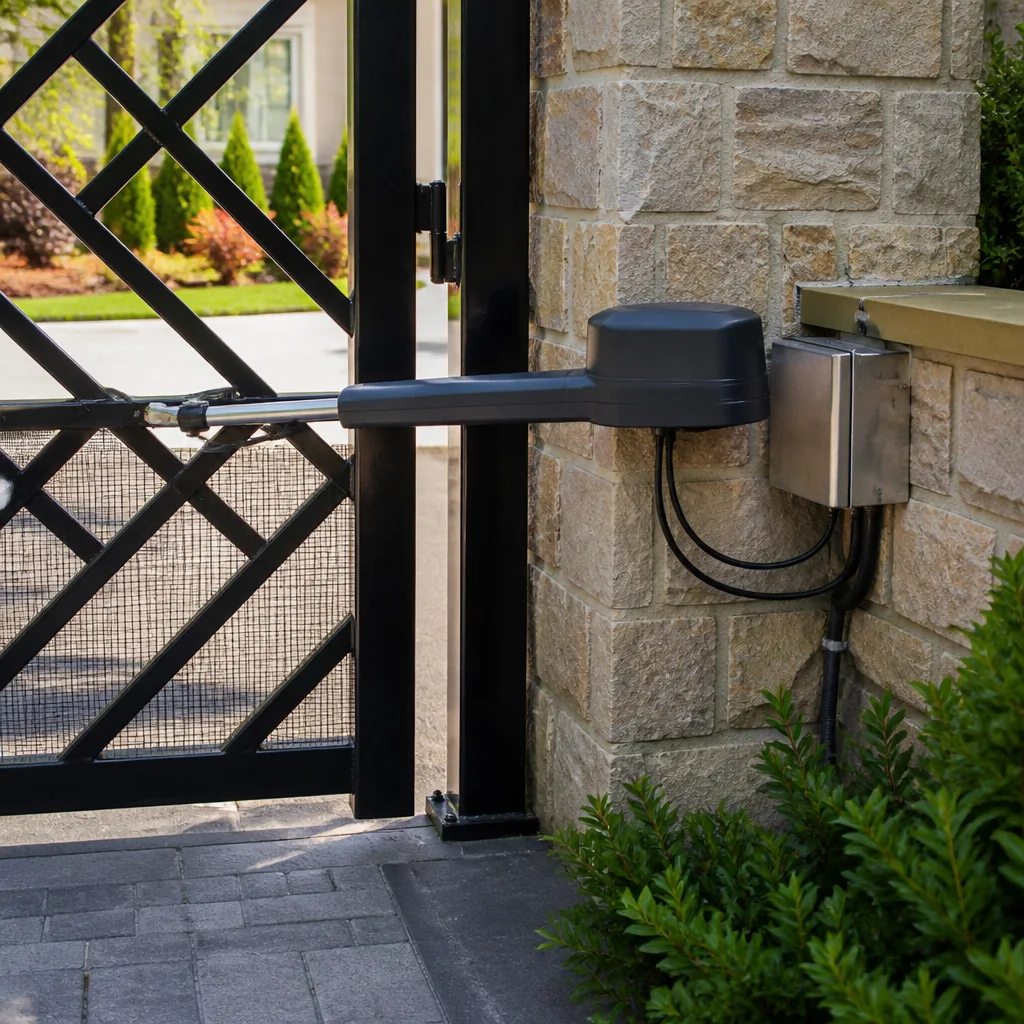 LiftMaster operators
Free on-site gate assessment - hinges, posts, and your LiftMaster or Nice gate operator checked before anything is quoted
The assessment is free and the quote is the invoice.
Get your free estimateGate Repair Troubleshooting in Naperville: Common Problems and How to Fix Them
A gate that reverses halfway open is not the same problem as a gate that won’t start at all. Yet most homeowners describe both situations as “my gate is broken,” and that vague description costs them money. It sends technicians to the wrong part, it turns a fifteen-minute fix into a return visit, and it causes repeat breakdowns when the real fault keeps running underneath the symptoms. Naperville homeowners live with a specific set of conditions – clay soil that shifts posts after a freeze, wide temperature swings between January and July, and a steady rhythm of daily use on automated systems – and those conditions produce recognizable failure patterns. This guide teaches you to read your gate’s failure signature before you call anyone.
Quick Answer
Most gate failures in Naperville trace back to one of five root causes: an obstruction sensor misalignment, a faulty control board, a worn or failing motor, a limit switch that has drifted out of position, or mechanical wear in the gears and hinges. A gate that reverses mid-travel is almost always a sensor or limit fault, while a gate that does nothing at all points to power, battery, or the control board. Reading the symptom before you call narrows the diagnosis fast and often saves you a second visit.
Styles & brands we work with
- Wrought iron
- Wood & steel frame
- Farm & ranch
- Sliding driveway gates
- LiftMaster operators
Table of Contents
- The Five Root Causes Behind Almost Every Gate Failure
- How to Read Your Gate’s Symptom Before You Call
- Why Obstruction Sensor Misalignment Is the Most Misdiagnosed Problem
- Control Board, Motor, or Limit Switch? Telling Them Apart by Sight and Sound
- Brand-Specific Error Codes on LiftMaster, FAAC, and Viking Systems
- Lubrication or Worn Gears? Why Confusing Them Burns Out Motors
- What’s Safe to Check Yourself and What Needs a Technician
- Naperville Conditions That Drive Gate Problems
The Five Root Causes Behind Almost Every Gate Failure
When we diagnose an automated gate, our technicians sort the fault into one of five categories before touching a single bolt. That sort is the whole job. Get it right and the repair is usually straightforward; get it wrong and you replace a motor that was never the problem. Here’s how the five break down:
- Obstruction sensor faults. The safety eyes on either side of the gate lose alignment, get blocked by debris, or fail outright. The gate stops and reverses because the operator believes something is in the way.
- Control board faults. The board is the brain of the system. It handles logic, timing, and communication with remotes and keypads. A failing board produces erratic behavior, missing functions, or a gate that behaves differently each time you open it.
- Motor faults. The motor itself has failed, is drawing too much current, or has burned out from years of fighting a stiff gate. Symptoms usually build gradually rather than appearing overnight.
- Limit switch faults. Limit switches tell the operator where the gate is supposed to stop. When they drift, the gate over-travels, stops short, or reverses at the wrong point.
- Mechanical wear. Hinges, rollers, gears, and the gate leaf itself. Friction and binding put extra load on everything upstream of the mechanical part, which is why one stiff hinge can eventually kill an operator.
In our experience across Naperville, the most common mistake homeowners make is jumping straight to the motor. The motor is the expensive component, so it gets the blame. But a motor that runs for a few seconds and stops is usually doing exactly what a control board told it to do – it’s obeying a bad signal, not failing. If you want the fuller picture on what a professional diagnosis involves, our Gate Repair Naperville page covers the full scope of what we handle.
There’s a useful rule of thumb here. Failures that appear suddenly and completely usually trace to electrical or electronic causes. Failures that worsen slowly over weeks or months usually trace to mechanical wear. And failures that happen only sometimes, at certain times of day or in certain weather, usually trace to sensor alignment or a connection that’s working loose.
How to Read Your Gate’s Symptom Before You Call
Before you pick up the phone, watch your gate through one full cycle. Stand back at a safe distance and observe. This is the single most useful thing you can do for a technician, because it converts a vague description into a diagnosable symptom. Here’s how to run that observation:
- Try the normal open command. Watch whether the gate moves at all. No movement is completely different from movement in the wrong direction.
- Listen. Do you hear the motor running? A faint hum with no movement means the motor is energized but the gate is stuck or the drive is slipping. Silence means the motor isn’t getting power or isn’t being commanded to run.
- Watch the travel. Does the gate start normally and then reverse partway? That points to a sensor or limit fault, not a motor problem. Does it start slowly and struggle? That’s friction or motor wear.
- Note where it stops. The exact position of a reversal is a clue. Reversals near the closed position are frequently sensor-related; reversals near the open position often point to the open limit switch.
- Try the safety reverse test. On a properly functioning gate, interrupting the safety beam should cause the gate to stop and reverse. If it doesn’t, the safety system is faulty.
- Listen to the remotes. If the keypad works but a remote doesn’t, you have a remote programming issue, not a gate failure. If nothing responds, the problem is at the receiver or board.
Write down what you saw. When you describe a gate to us as “it opens about three feet, then stops and goes back,” that’s a far more useful report than “it’s broken,” and it lets a technician arrive with the right part in mind. A well-diagnosed call is a shorter call.
The observation step is also how you decide whether you’re dealing with a genuine mechanical failure or something more mundane. In Naperville, we’ve found that a surprising number of reported “gate failures” are actually sensor misalignments from shifting posts, which we’ll cover in the next section.
Why Obstruction Sensor Misalignment Is the Most Misdiagnosed Problem
Obstruction sensors – the photo-eye pairs mounted on either side of the gate opening – cause more false “motor problems” than any other component. The reason is simple: when the sensors lose alignment, the gate stops and reverses, and that behavior looks exactly like a failing motor or a jammed gate. Homeowners call it in as a motor problem, a technician arrives expecting a motor problem, and the real fault is a sensor that has moved a quarter-inch.
The problem is even more common in older Naperville neighborhoods where posts have shifted over years of freeze-thaw cycles. Clay soil holds water in the spring and expands, then contracts in a dry summer, and any post set into that soil can shift just enough to throw off the beam. The result is a gate that worked fine in October and behaves strangely in April.
Here’s how to test sensor alignment in about a minute:
- Find the two photo-eye units on either side of the gate opening. One transmits an invisible beam; the other receives it.
- Wipe both lenses with a clean cloth. Dust and spider webs cause a surprising number of faults.
- Look at the LED indicator on each unit. Most systems show a steady light when the beam is good and a blinking or off light when it’s interrupted.
- If the light is not steady, check that the two units are aimed at each other. They should be at the same height and pointing directly across the driveway.
- Check for obstructions – a sagging branch, a parked car, a landscape light, or a trash bin that has drifted into the beam path.
- Test by walking through the beam. A working system makes the LED blink and stops or reverses the gate.
If the LED never steadies no matter what you do, the transmitter may have failed, or the wiring between the units may be damaged. That’s a job for a technician, and it’s a repair our team handles frequently. Our electric gate repair work includes full diagnostics on sensor and safety circuit faults on systems throughout the area.
One thing to know: safety sensors are not optional. They’re the component that prevents a gate from closing on a child or a pet, and bypassing them is not a fix. If a sensor is faulty, the right move is to repair or replace it, never to disable it.
Control Board, Motor, or Limit Switch? Telling Them Apart by Sight and Sound
Three of the five root causes live inside the operator housing, and they’re easy to confuse from the outside. The good news is that each one leaves a distinct signature if you know what to watch and listen for.
Control board fault
The board is the electronic logic component. When it fails, the gate behaves unpredictably. You might see a gate that opens and closes on its own, ignores the remote but responds to the wall button, or runs a full cycle in one direction and then refuses the opposite direction. In some cases the operator clicks but doesn’t move at all. A board fault is often invisible; there may be no burnt component, just a failed relay or a corrupted setting.
Motor fault
Motor failures almost always announce themselves. You’ll hear the motor running with a labored hum, grumbling, or a grinding noise. The gate may move in fits and starts, slow down under load, or stop partway through a cycle and refuse to finish. Heat matters too: if the motor feels significantly hot to the touch after a single cycle, it’s drawing too much current, and something is loading it down. The motor usually isn’t the original problem; it’s the victim of friction, a bad board, or a failing limit.
Limit switch fault
Limit switches tell the operator where to stop. When they drift, the gate over-travels past its intended stop or reverses early. On a slide gate, a faulty limit often causes the gate to run to the end, bounce, and re-open. A limit switch that’s physically out of position is visible on many models with a set screw or cam that has moved.
Our technicians carry the diagnostic tools to read both mechanical behavior and electrical signals in a single visit. That means we don’t have to send one person to test the mechanics and another to test the electronics. gate repair visits from our team handle board faults, motor faults, and limit faults on the same call.
One warning on this: do not open the operator housing to poke around inside unless you’re comfortable with household electrical safety. The board and motor are fed by line voltage on most residential systems, and the capacitors inside an operator can hold a charge after the power is off. If you’re not sure what you’re looking at, keep the cover on and describe the symptom over the phone instead.
Brand-Specific Error Codes on LiftMaster, FAAC, and Viking Systems
Many modern operators record diagnostic codes when they shut down or fail a cycle. Reading the code before you call is one of the fastest ways to get to the right repair. The code itself isn’t always meaningful to a homeowner, but a technician who works on that brand knows what the code means immediately. Homeowners in Naperville run a wide mix of systems, and the three we see most often in residential settings are LiftMaster, FAAC, and Viking.
LiftMaster
LiftMaster residential operators typically show diagnostic codes as a pattern of flashes from the LED on the control board, or report them through the MyQ app if the system is connected. Each flash count corresponds to a specific fault category – typically safety sensor faults, limit faults, motor issues, or board faults. When you call, tell the technician the flash count and what the gate was doing at the time. That combination usually narrows things down to a single component.
FAAC
FAAC systems on swing gates commonly report codes through a status LED on the board or through an operator readout, and the codes differ by model family. FAAC is a professional-grade brand, so codes are often more granular than residential systems – a fault might be reported as a specific sensor, a specific limit, or a specific board input. Having the model number from the operator label is important, since the same symptom can produce different code meanings between FAAC families.
Viking
Viking gate operators report diagnostic codes through the control board display or LED flashes. Viking systems tend to log multiple fault events, which is useful if your gate has been intermittent for weeks. A technician can read the history and identify whether the faults are clustered around the safety circuit or the operator drive.
We work on all three of these brands and can translate codes quickly on-site. Our technicians also service Linear, Ghost Controls, DoorKing, Elite, BFT, and Mighty Mule systems, so the diagnostic approach is the same whether your gate is a basic residential swing operator or a complex access-control setup.
If your system doesn’t display codes, don’t worry – the code is a shortcut, not a requirement. A thorough diagnostic visit identifies the fault with or without a code.
Lubrication or Worn Gears? Why Confusing Them Burns Out Motors
A noisy, struggling gate is either dry or worn out, and the two look similar from a distance. Treating one as the other is one of the most expensive mistakes a homeowner can make in gate maintenance.
Signs it’s a lubrication problem
- The gate moves smoothly but loudly – squeaking, groaning, or squealing that you can clearly trace to a hinge or pivot.
- The noise is worse in cold weather. Naperville winters dry out lubricant and stiffen metal components, and a gate that’s fine in July can squeal in January.
- The gate is perfectly straight when moving; there’s no visible binding.
- The noise stops temporarily after you apply lubricant to a hinge or roller.
Signs it’s a worn gear or drive problem
- A rhythmic grinding or clunking that doesn’t change with lubrication.
- The gate moves in jerks rather than a smooth glide.
- The operator runs but the gate travels slowly or unevenly.
- You see metal shavings or dark grease near the drive gears.
- The gate has begun drawing noticeably more current than it used to – a sign the drive is binding inside the operator.
Here’s why the distinction matters. A gate with worn gears puts constant extra resistance on the motor. Every cycle, the motor has to fight that drag, and it runs hotter and draws more current. Over time the motor’s thermal protection kicks in more often, then wears out. By the time the motor fails, the homeowner assumes the motor was the original problem – but the actual original problem was the worn gear, and the motor was the collateral damage.
Our technicians check the mechanical drive first, not the motor. If the drive is worn, we rebuild or replace it before the motor fails. That’s a cheaper fix than a full motor replacement, and it’s the order that actually solves the problem rather than masking it.
For gates in older Naperville subdivisions with heavy daily use, lubrication should be checked at least twice a year – after winter and before it. Light seasonal attention to the mechanical parts is the difference between a gate that runs a decade and one that needs a drive replacement at five years.
What’s Safe to Check Yourself and What Needs a Technician
Some gate troubleshooting is genuinely homeowner-safe and worth doing before you call. Some is not. Knowing the difference protects your safety and your warranty.
Safe to check yourself
- Visual inspection. Look for obvious obstructions in the beam path, sagging hinges, or debris around the track.
- Sensor LED check. Confirm both photo-eye LEDs are lit steady when the gate is idle.
- Lens cleaning. Wipe dust and spider webs from the safety sensor lenses.
- Remote battery replacement. If one remote fails and others work, it’s a battery or programming issue.
- Power check. Confirm the operator has power, the breaker hasn’t tripped, and any inline disconnect switch is on.
- Manual release operation. On most systems, there’s a manual release lever or key that lets you operate the gate by hand during a power failure. Read the operator manual for how yours works, then use it one time to confirm the gate moves freely by hand. If the gate won’t move by hand, you have a mechanical problem.
- Lubrication of hinges and rollers. Applying lubricant to accessible hinges and rollers is generally safe and eliminates one common source of noise.
Needs a technician
- Opening the operator housing. Line voltage, capacitors that hold a charge, and sensitive boards are all inside. This is the boundary line.
- Control board replacement or board-level diagnosis. Boards are model-specific, and swapping them incorrectly can damage the replacement.
- Motor replacement or drive gear rebuild. Heavy, precise, and easy to get wrong.
- Limit switch adjustment. On the surface this looks like a small adjustment, but the wrong setting causes over-travel, drive damage, or a gate that fails to close fully.
- Sensor replacement or rewiring. If the safety circuit is faulty, it needs to be repaired by someone who can verify the fix.
- Battery backup or operator power issues. Diagnosing a backup battery fault requires electrical testing.
There’s also a warranty consideration. Attempting electrical or mechanical repairs yourself on a system that’s still under the manufacturer’s warranty can affect that warranty. Operating the gate in a manual mode that stresses the drive improperly is another way to cause damage that wasn’t there before.
Our free estimate visits are designed to sort DIY-safe checks from technician work before any cost is committed. The price is quoted and agreed before any work starts. Call (888) 569-7811. We answer 24/7. Fast dispatch from 7am to 7pm, Sunday through Friday.
Naperville Conditions That Drive Gate Problems
Naperville sits on heavy clay soil, sees wide temperature swings between summer and winter, and experiences a regular cycle of freezing and thawing through the colder months. Those conditions produce a specific pattern of gate faults. The most common one is post shift. Clay soil expands when it saturates and contracts as it dries, and a gate post that was perfectly aligned in spring can lean enough by fall to throw off a safety beam or bind a hinge. That’s why so many “my gate just started doing this” calls we get in Naperville are actually sensor alignment issues from a post that has shifted.
The second pattern is cold-weather stiffening. Lubricant thickens, metal contracts, and hinges that were fine in September suddenly squeal in January. That doesn’t mean the gate needs new parts; it usually means the mechanical components need proper seasonal lubrication. But a stiff gate will force the motor to work harder, so cold-weather friction left alone through a winter can shorten a drive’s life.
The third is debris and vegetation. Trees and shrubs around Naperville properties are beautifully landscaped, but a branch that grows into the safety beam path produces the exact behavior of a motor fault. Before any other diagnosis, check that the area between the safety sensors is clear.
None of these are unusual in Naperville. They’re the normal conditions that any gate in this area lives with, and they’re the reason we take specific troubleshooting steps that a technician from a warmer, drier region might skip. For a broader look at what we handle across the community, our Naperville service page outlines the local scope, and the full gate repair Naperville service covers what a diagnostic visit includes.
Common Mistakes to Avoid
- Assuming the motor is the problem before checking sensors. A reversing gate is far more often a sensor or limit fault than a motor failure. Replacing the motor without diagnosing the sensors wastes money and leaves the real fault in place.
- Opening the operator housing without electrical knowledge. Line voltage and stored charge in capacitors make this genuinely dangerous. Keep the cover on and describe the symptom.
- Bypassing safety sensors to “make the gate work.” Sensors protect people and pets from a crushing gate. A disabled safety circuit is a hazard, not a repair, and it’s the single most dangerous shortcut in gate troubleshooting.
- Lubricating a worn gear as if it were dry. If the noise doesn’t change after lubrication, the problem is worn components. Adding more grease won’t fix worn metals and can mask the symptom while the drive wears further.
- Ignoring a slow or jerky gate. “It works, just a little slow” is often a warning sign that the drive is wearing. Waiting for a full failure usually means the repair is larger.
- Assuming a post that shifted will shift back. In Naperville’s clay soil, a post that has moved by an inch is unlikely to settle back into alignment. Sensor misalignment is a two-part repair: realign the sensors and address the post.
- Calling without describing the symptom. “It’s broken” gets a technician to your gate, but “it opens about three feet and reverses” gets a technician to your gate with the right part in hand. Observation saves time on both fronts.
See the difference
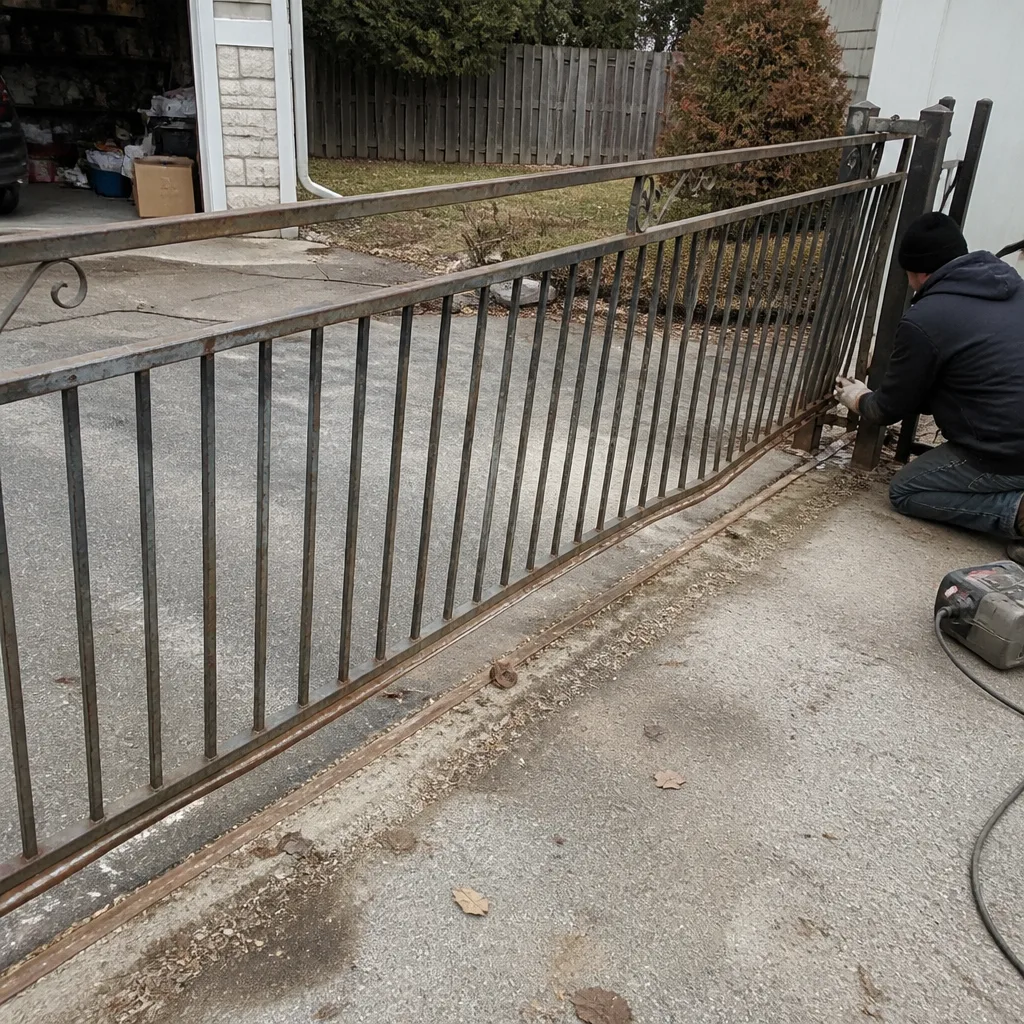 Before
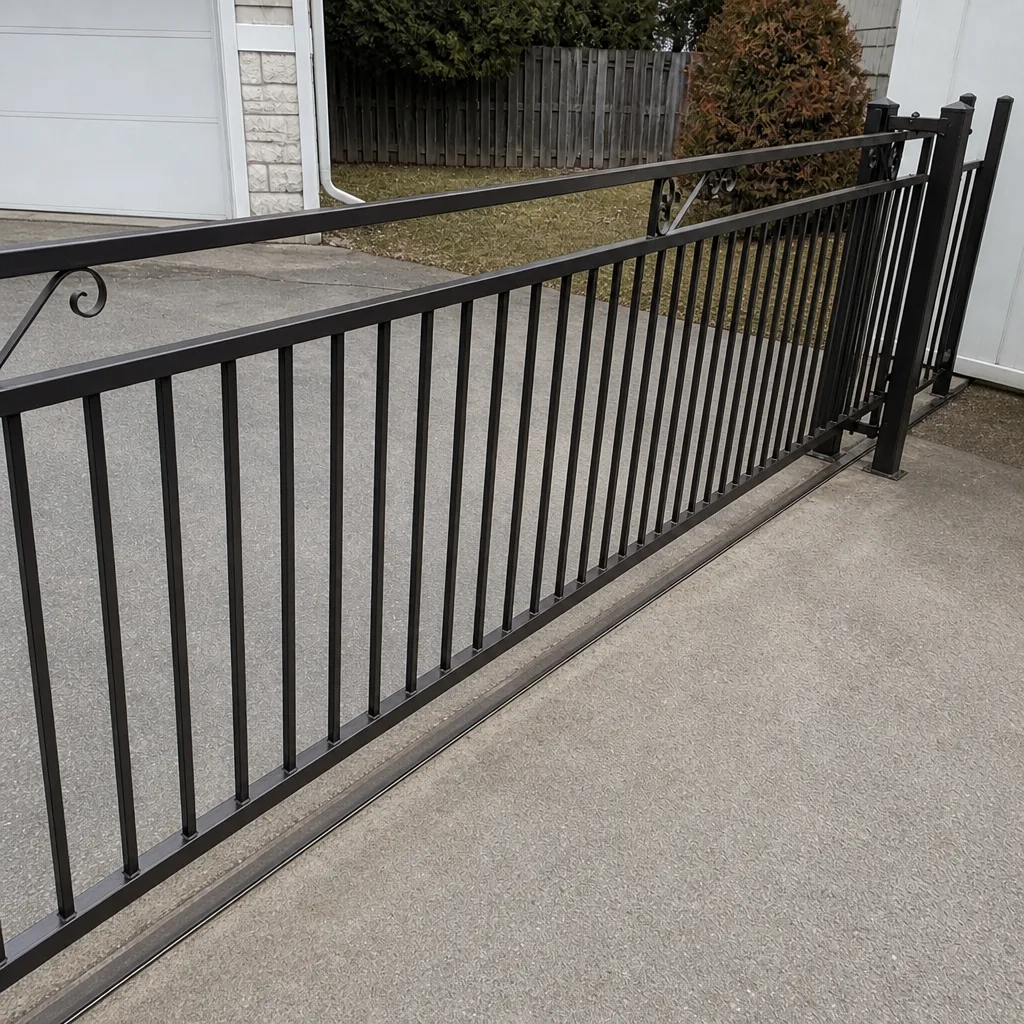 After
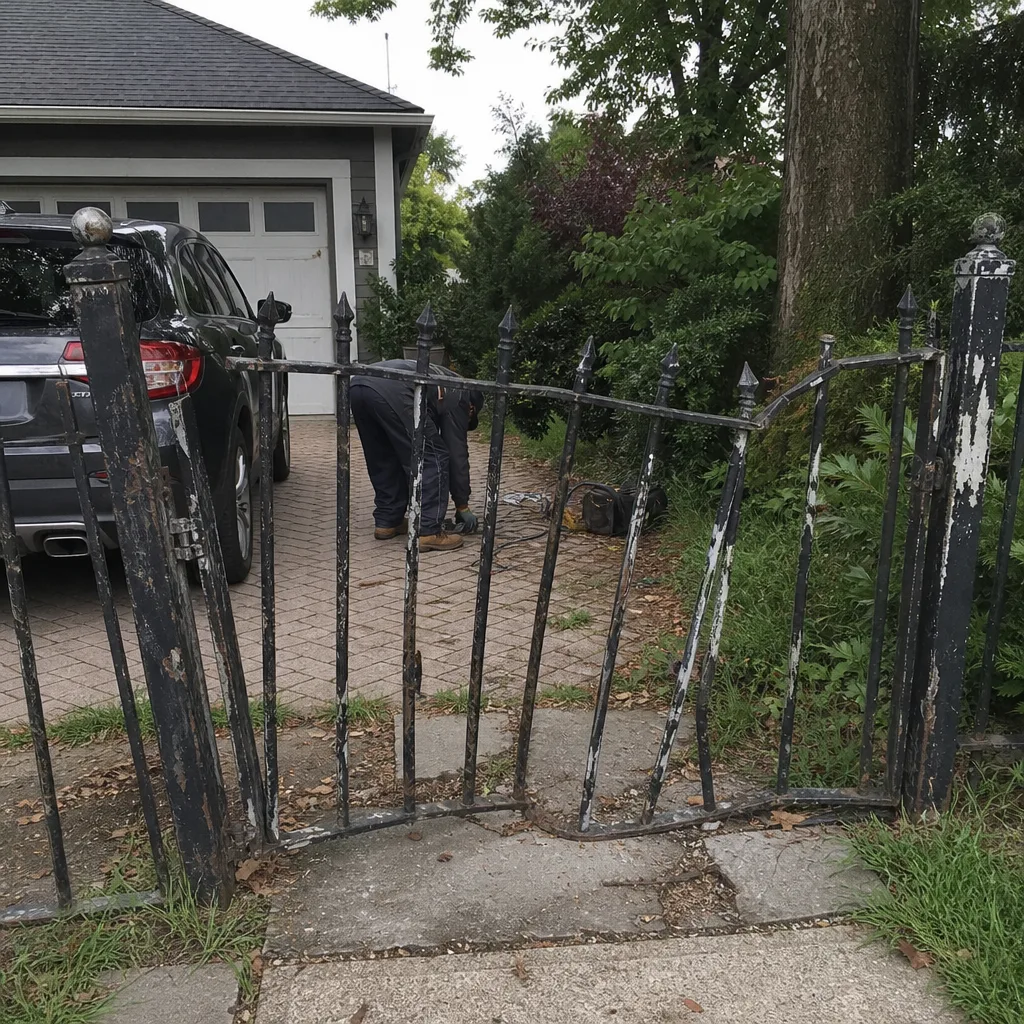 Before
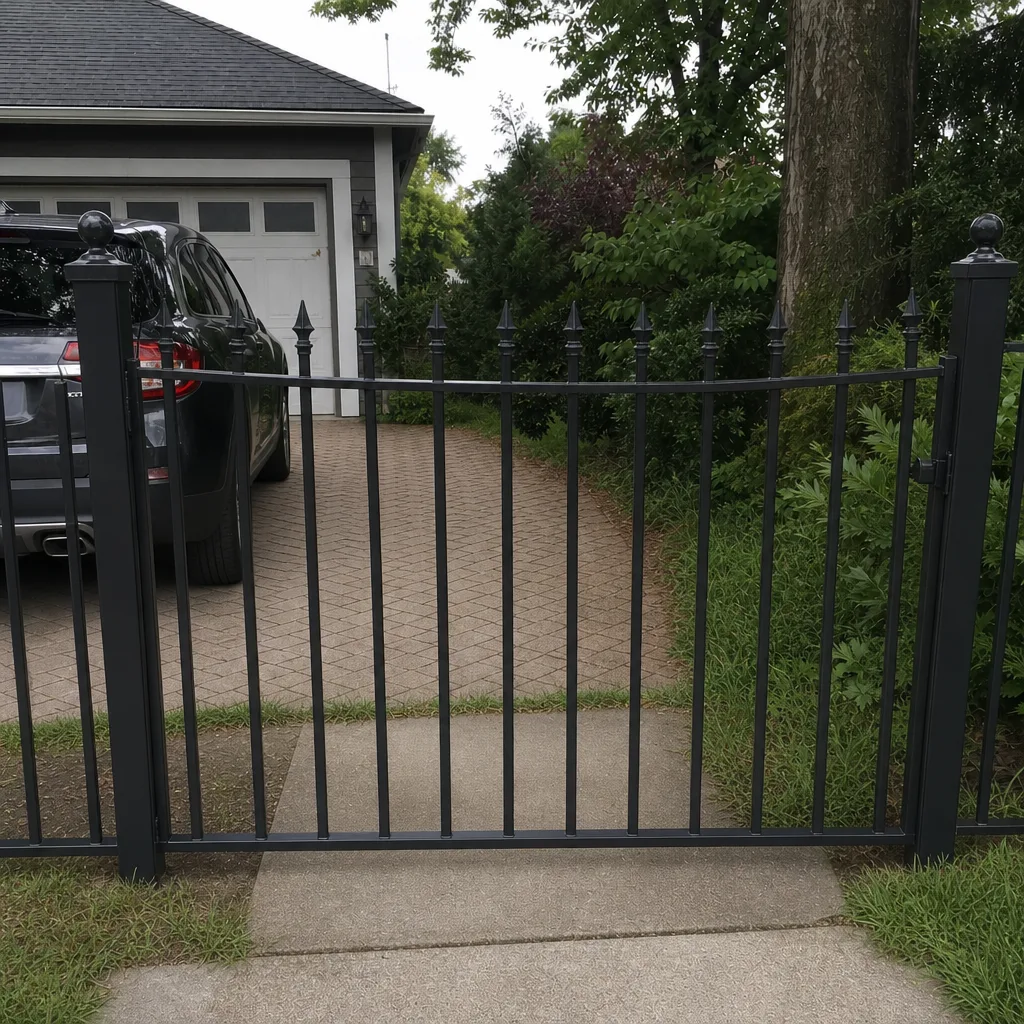 After
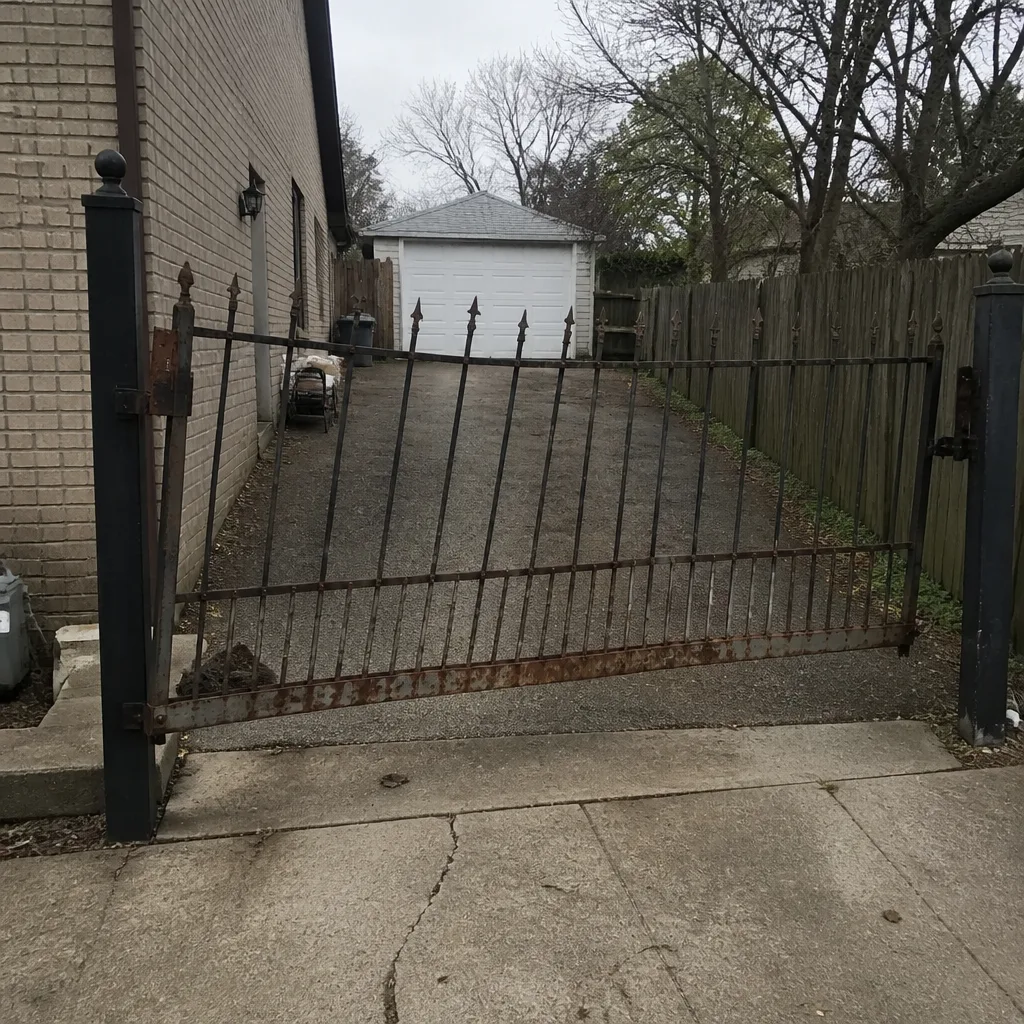 Before
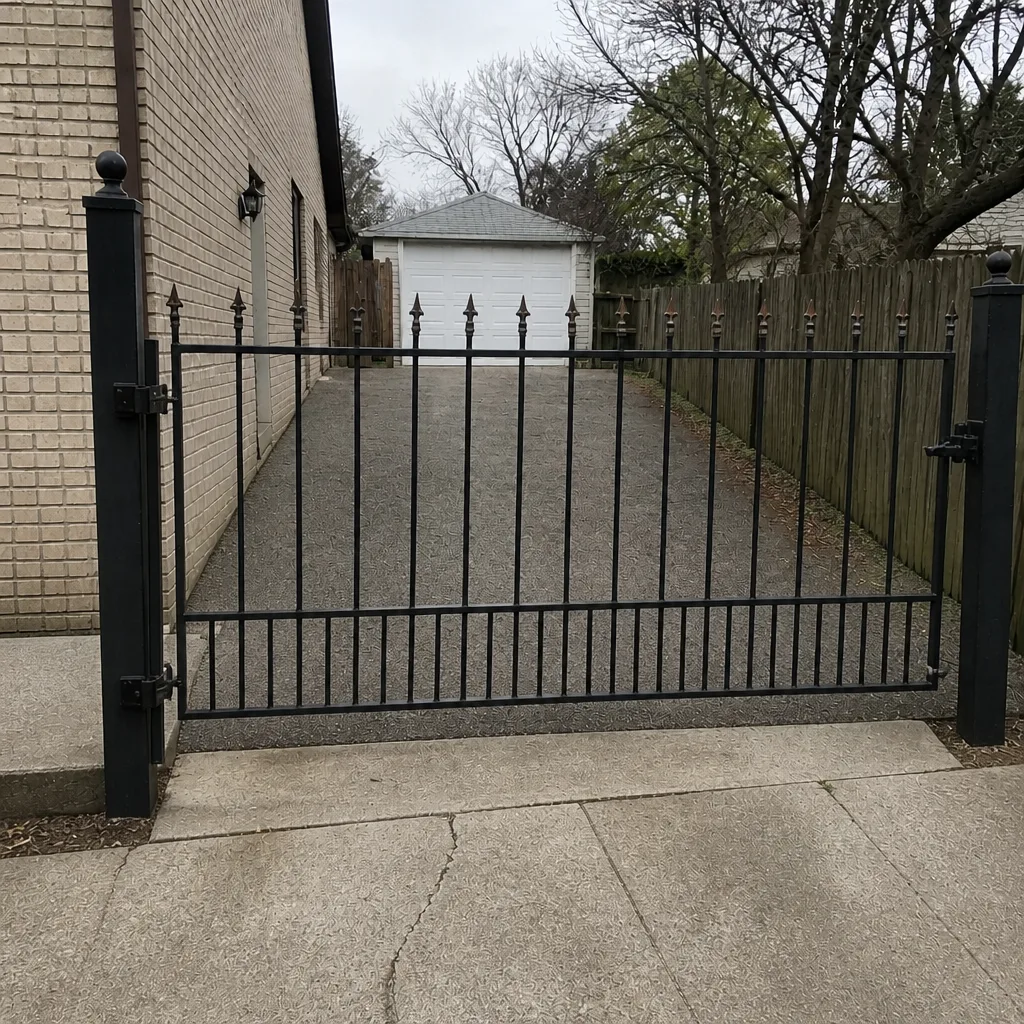 After
When to Call a Professional
Call a technician if your gate fails to start at all, reverses repeatedly during travel, makes grinding or clunking noises on each pass, runs but doesn’t move the gate, or trips a breaker. Call immediately if the safety sensors fail the beam test, if the gate closes on an obstacle, or if you see physical damage to the hinges, track, or operator. Call if the operator displays an error code you don’t recognize. And call if the gate is under warranty and you suspect a fault inside the operator housing; DIY repairs inside that housing can affect the warranty.
Gate Repair Naperville offers free estimates in Naperville – call (888) 569-7811. We work on LiftMaster, FAAC, BFT, Linear, Viking, Ghost Controls, DoorKing, Elite, and Mighty Mule systems. Our technicians have up to 8 years of experience diagnosing both mechanical gate faults and electronic operator faults on the same visit.
Frequently Asked Questions
A gate that opens partway and reverses usually has a faulty obstruction sensor or a limit switch that’s out of position. The operator is receiving a signal that it should stop, so it reverses. The fix is typically a sensor realignment or a limit switch adjustment, and both are quick once the fault has been confirmed. If you’re in Naperville and your gate is doing this, describe the exact point in travel where it reverses and a technician can often diagnose it over the phone.
A motor failure usually announces itself with noise – grinding, a labored hum, or a gate that moves unevenly. A control board fault is more often silent and erratic, with the gate behaving differently each time or ignoring commands entirely. A motor that runs briefly and stops is often obeying a bad board signal rather than failing itself. If you’re not sure which category your symptom falls into, keep the housing closed and describe what you’re seeing; the diagnostic visit will sort it.
Cleaning the sensor lenses and checking the LED indicators is safe and worth doing yourself. Replacing, rewiring, or bypassing the safety sensors is not. The sensors are part of a safety circuit that prevents the gate from closing on a person or animal, and an incorrectly wired or bypassed circuit can cause a crushing injury. Sensor repair is the point where a technician should take over.
Cold weather stiffens metal, thickens lubricant, and increases friction in hinges and rollers. In Naperville, this is a very common pattern. A small amount of resistance in the summer turns into a real load on the motor in January. The fix is usually seasonal lubrication of the mechanical parts, but if the gate is running slowly rather than just noisily, the drive may be wearing and should be checked before the motor fails.
The flash count corresponds to a specific fault category, usually a safety sensor fault, limit fault, motor issue, or board fault. Tell the technician the exact flash count and what the gate was doing at the time. LiftMaster systems commonly store and replay the fault history, which is a useful shortcut to the right repair. Do not attempt to reset fault codes from inside the housing without guidance.
Not necessarily, but small noise deserves attention. Squeaking at a hinge or pivot often responds to lubrication and nothing more. Grinding, clunking, or a rhythmic noise that doesn’t change after you lubricate should be checked. In our experience, the noise that’s ignored is the one that turns into a drive replacement, because a rubbing component keeps loading the motor every cycle. A free estimate visit is a cheap way to find out whether you’re dealing with a small fix or the early warning of a bigger one.
The Bottom Line
Most gate failures in Naperville come down to five root causes: sensor misalignment, control board faults, motor faults, limit switch faults, and mechanical wear. Reading the symptom before you call – which direction the gate moves, where it stops, what noise the operator makes, whether the sensors show a solid LED – narrows the diagnosis immediately and saves you both time and repeat service. Sensors are the most misdiagnosed component, so check them first. Lubricate hinges and rollers yourself; leave the operator housing closed. And when the symptom points to something inside, call a technician who can diagnose the board, the motor, and the drive in one visit rather than a generalist who’ll guess at the first part. Call (888) 569-7811 for a free estimate. We answer 24/7. Fast dispatch from 7am to 7pm, Sunday through Friday.
Written by the team at Gate Repair Naperville.